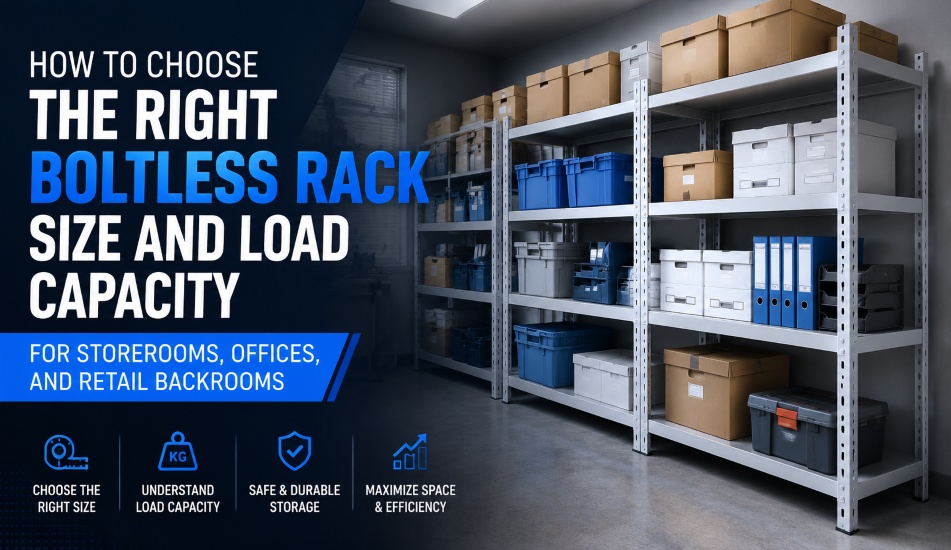
It is tempting to treat boltless racks as a one size fits all purchase. They look simple, assemble without tools, and often look much like one another in a catalogue. But storerooms, offices, and retail backrooms each place very different demands on a rack, and a size or load rating that works well in one setting can be the wrong choice in another.
Buying based on price or appearance alone often leads to racks that sag under normal use, shelves that are too shallow or too deep for what you actually store, or units that simply do not fit the room. Choosing the right boltless rack means working backwards from what you are storing, how heavy it is, and where the rack will physically sit. This guide walks through the practical factors that determine the right size and load capacity, so you can buy a rack that fits your space and holds up to daily use.
Understanding Height, Depth, and Length
Boltless racks are typically specified using three core dimensions, and each one affects how usable the rack will be in practice.
Height determines how many shelf levels you can fit and how much vertical storage you can capture from a limited floor footprint. Taller racks make sense in storerooms with high ceilings and infrequent access, where maximizing storage density matters more than convenience. In offices or backrooms where staff need to reach items regularly, a shorter rack with more accessible shelves is usually more practical, since anything above comfortable reach height slows people down or requires a step stool.
Depth affects what can sit on a shelf comfortably. A shallow shelf works well for files, stationery, or small retail stock but will leave larger boxes overhanging the edge, which is both a tripping hazard and a stability risk. A deeper shelf holds bulkier items but takes up more floor space and can make it harder to see or reach items stored at the back. Matching shelf depth to your actual product or document sizes, rather than choosing the deepest option available, keeps the rack efficient and safe.
Length, sometimes called width, is the horizontal span of a single bay. Longer bays cover more wall or floor space per unit and reduce the number of upright posts needed, but they also reduce the load a shelf can safely hold, since the weight is spread across a longer, less supported span. Shorter bays generally support more weight per shelf for the same materials and gauge of steel.
Before choosing dimensions, measure the room itself, including door widths and any turns the rack will need to pass through during delivery, along with ceiling height, clearance around the rack for staff to work safely, and the size range of what you intend to store. A rack that is technically well built but does not fit through the doorway or leaves no walking space around it is not a good investment.
What UDL Means in Boltless Shelving
Almost every boltless rack is rated using a figure called UDL, or Uniformly Distributed Load. This is the single most important number to understand before buying, and it is also the most commonly misread.
UDL describes the maximum weight a shelf can safely hold when that weight is spread evenly across the entire shelf surface. A shelf rated at 200 kg UDL is designed to hold up to 200 kg total, provided the load is distributed across the whole shelf rather than concentrated in one spot. Placing a single heavy item in the center of the shelf, rather than spreading similar loads across the surface, puts far more stress on that point than the UDL rating accounts for and can lead to bending or failure well below the stated capacity.
A few points are worth keeping in mind when reading UDL specifications:
- UDL is per shelf level, not per unit, unless the listing specifically states a total unit capacity. A rack with four shelves rated at 200 kg UDL each does not necessarily support 800 kg if all four shelves are loaded at once. Check whether the manufacturer also lists a maximum total capacity for the whole unit.
- Longer shelves generally carry a lower UDL than shorter ones built from the same materials, since the load is spread across a wider span with the same support structure.
- Distribute weight evenly whenever possible. Heavier items placed toward the outer edges near the upright supports, with lighter items in the middle, generally place less stress on the shelf than a single heavy load in the center.
- Never modify the rack to increase capacity. Drilling, cutting, or removing structural bracing to fit a different load compromises the rated capacity and creates a genuine safety risk.
As a general reference point, light-duty boltless racks are commonly rated in the range of roughly 100 to 250 kg per shelf, which suits offices, retail backrooms, and light storerooms. Medium-duty options typically fall in the 250 to 400 kg range and suit heavier retail stock, bulkier office supplies, or general storeroom use. Anything beyond that moves into heavy-duty racking territory, which is built with thicker steel and different structural bracing altogether.
Matching Rack Size to Storage Environment
The right rack size is not just a function of what you store. It also depends heavily on where the rack will be used day to day.
Storerooms tend to hold a mixed range of items, from bulk supplies to seasonal stock to equipment that is not used often. Storerooms generally benefit from taller racks with medium-duty UDL ratings, since floor space is often limited but ceiling height is available. Adjustable shelf heights are particularly useful here, since the mix of items stored often changes over time.
Offices usually store lighter, more uniform items such as files, stationery, boxed paperwork, and equipment. Light-duty racks with shallower shelves and lower overall height are generally sufficient, and a cleaner, more compact footprint tends to suit shared office spaces better than a tall industrial-style unit. Accessibility matters more here than raw capacity, since staff are retrieving items throughout the day rather than in bulk.
Retail backrooms sit somewhere between the two. They need to hold enough stock to keep the shop floor supplied without requiring constant restocking, but the space is often tight and shared with other functions such as staff areas or receiving. Medium-duty racks with a manageable footprint tend to work best, along with a layout that allows fast-moving stock to be placed at accessible heights near the front of the room, closer to the shop floor access point.
In each case, think about how often the rack will be accessed, by whom, and how quickly. A rack that is technically rated to hold the weight but is awkward to access every day will slow down operations even if it never fails structurally.
Choosing Shelf Materials

The material used for the shelf surface itself affects both load capacity and suitability for different environments.
- Particle board or chipboard decking is common in lighter-duty racks and works well for general office or light storeroom use. It is cost effective but less suited to damp environments or very heavy point loads.
- Steel decking offers higher load capacity and greater durability, making it a better fit for storerooms and retail backrooms handling heavier or bulkier stock. It also holds up better under repeated loading and unloading.
- Wire mesh decking allows better visibility of stored items and improves airflow and light penetration, which some retail backrooms and storerooms prefer for stock rotation and fire safety compliance.
- Melamine or laminate-finished decking gives a cleaner appearance suited to offices or customer-adjacent storage areas, while still offering reasonable load performance for lighter items.
The frame material and steel gauge matter just as much as the decking. Thicker gauge steel in the uprights and beams generally allows for a higher UDL rating at the same dimensions, which is why two racks that look similar in size can carry very different loads.
Common Buyer Mistakes
Even with good intentions, a few recurring mistakes lead to racks that underperform or need to be replaced sooner than expected.
- Choosing based on floor footprint alone. A rack that fits the available floor space but is rated for far less weight than what needs to be stored will either be overloaded or underused.
- Ignoring the difference between per-shelf and total unit capacity. Assuming you can multiply the per-shelf rating by the number of shelves without checking the total unit capacity is one of the most common overloading mistakes.
- Overlooking access clearance. Racks placed too close together or too close to walls make loading and unloading slower and increase the risk of items being knocked off shelves.
- Buying the tallest option available “to be safe.” Extra height that goes unused is wasted cost, and shelves placed above comfortable reach are often ignored or accessed unsafely with makeshift stools.
- Not accounting for future growth. A rack sized exactly for current stock levels can become a bottleneck quickly if inventory grows. Leaving some buffer capacity, or choosing a modular system that can be extended, avoids a full replacement later.
- Skipping proper assembly. Boltless racks are designed for tool-free assembly, but that does not mean shortcuts are safe. Beams that are not fully seated into the uprights carry only a fraction of their rated load capacity, regardless of what the specification sheet says.
Choosing With Confidence
The right boltless rack is the one that matches your actual dimensions, your real load requirements, and the way your team will use the space day to day, not simply the largest or cheapest option on the page. Taking the time to measure your space, understand your UDL requirements, and think through how the rack will be used in practice pays off in a storage system that holds up over time instead of one that needs replacing within a year.
Browse our full range of boltless rack sizes and load capacities to find a configuration built for your storeroom, office, or retail backroom.